
This post may contain affiliate links. Please read our full disclosure policy.
This proper British classic is simple, creamy, and full of lemony-goodness! It’s easy to make, but looks SO fancy. You’ll wow the masses with this dessert!
While it may sound and look fussy and complicated, this British dessert is totally the opposite. It’s simple to make as long as you get the timing right. But fear not, just read on to learn what to look for! Before you know it, you’ll be a total pro, proudly serving up platters of posset!
What is a Lemon Posset?
Posset is a creamy citrus-based dessert, very similar to a pudding or custard. It started as a hot drink served in medieval England, believed to have medicinal properties. Made by curdling hot cream with ale, then adding sugar and spices, it has now evolved into a cold, set dessert, often featuring LEMON for its tangy goodness.
Posset is light, has a velvety texture, and a refreshing flavor. As mentioned, lemon is often used, but lime and orange are delicious as well. While it does have sugar, it is not terribly sweet (something that I personally LOVE).
Why this is the Best Lemon Posset Recipe
Perfected alchemy, if I dare say it. Posset works from the acid from the lemon. It thickens the cream, creating the silky smooth texture of posset that is just heavenly. This gal is not always great at “eyeballing” things, so I went the temperature route! This method is essentially foolproof!

English Lemon Posset Ingredients
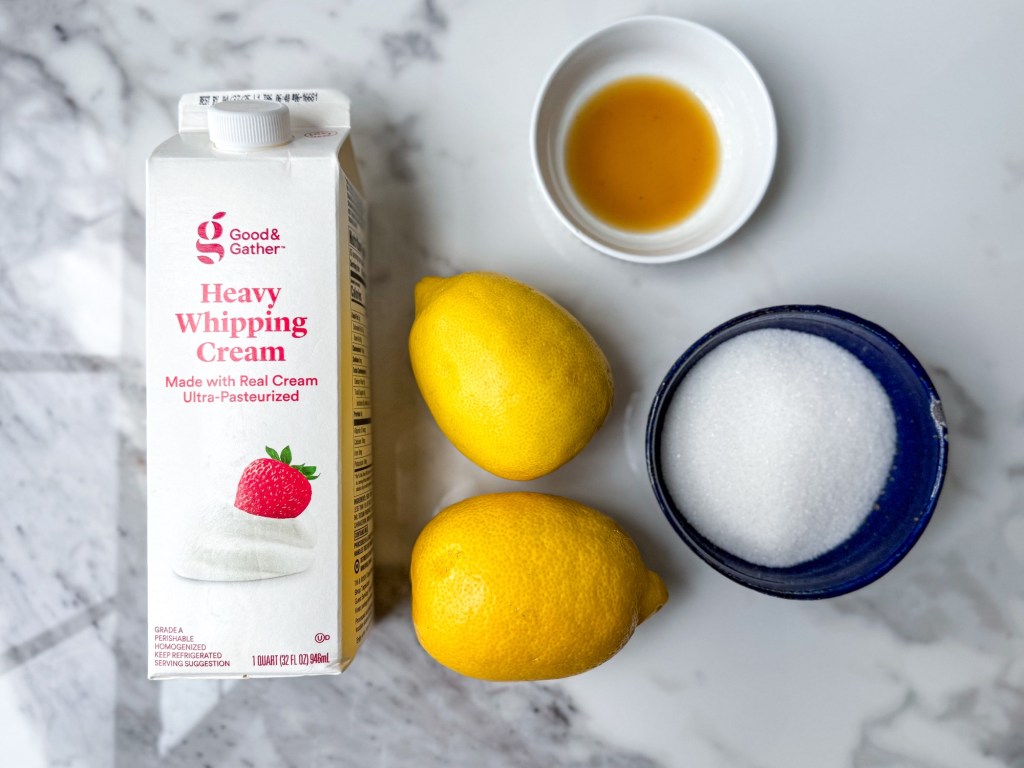
Traditional posset is made with three ingredients, we are adding a fourth to make it EXTRA delicious!
- Lemons: you’ll need at least one medium-sized lemon, for its juice and zest. If you want to serve the posset in lemon peel, you’ll need 7 medium-sized lemons!
- Heavy cream/heavy whipping cream: full and rich.
- Granulated sugar: a lil’ something sweet to balance the lemon tang.
- Vanilla extract: just a splash, for a bit of warmth!
Helpful tools:
- Microplane grater
- Hand juicer
- Heavy duty saucepan
- Candy thermometer: this one never fails me. I love that it has a pot clip!
How to Make Lemon Posset in Lemon Shell
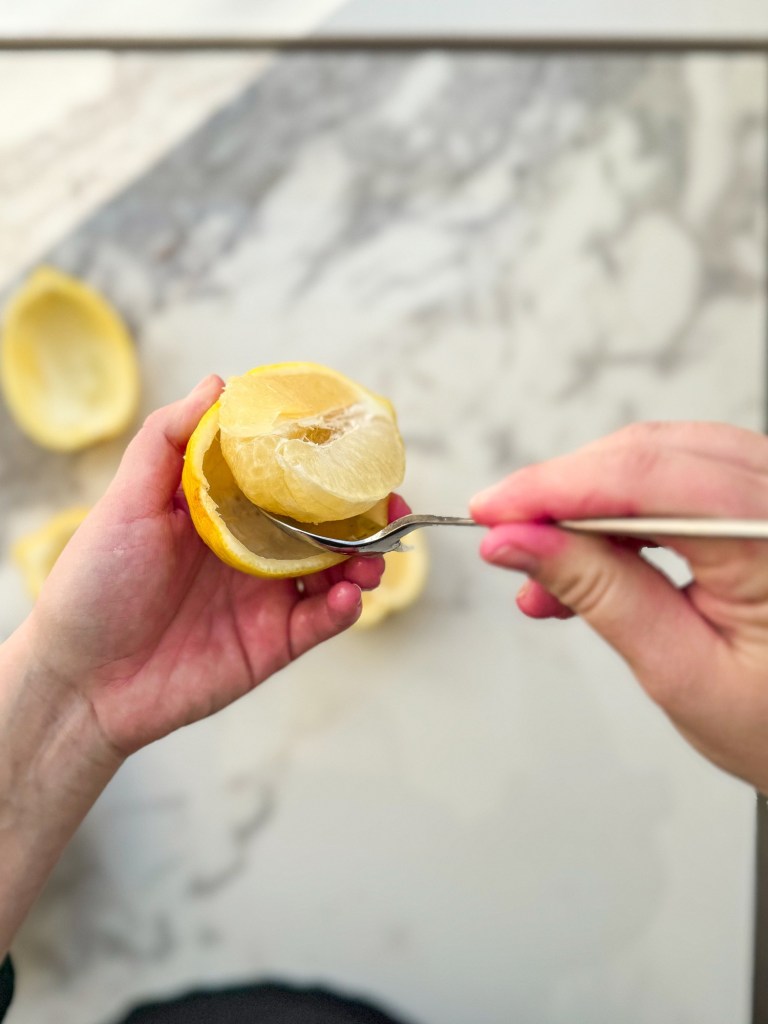
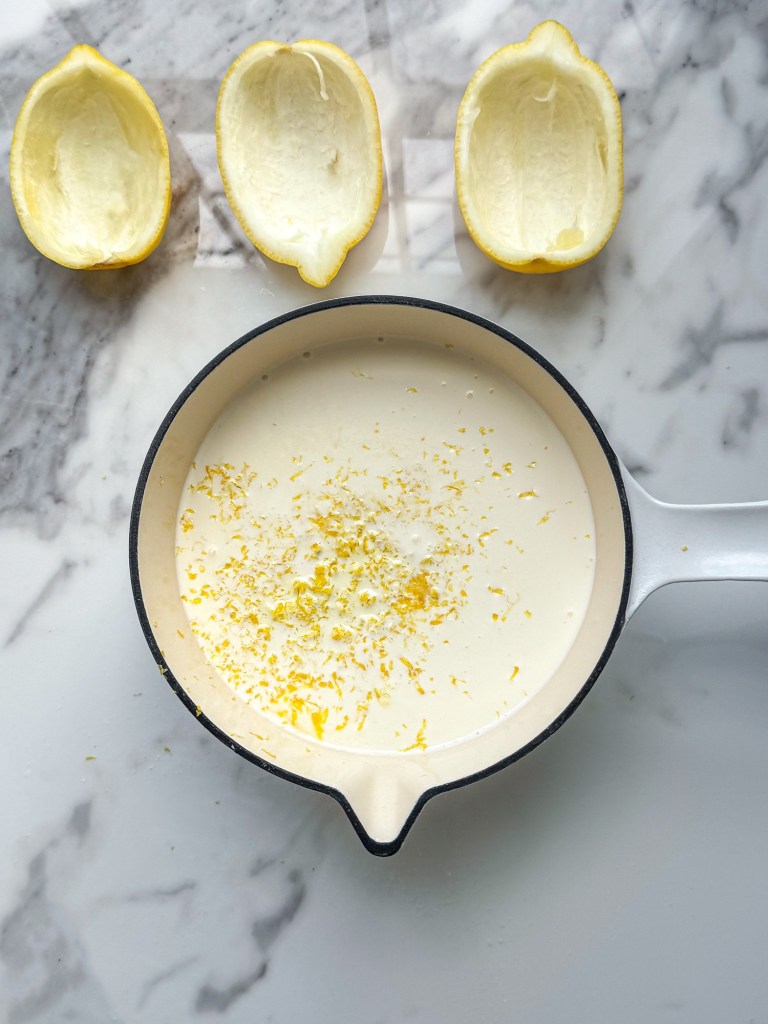
- Prep the lemons: if you want to serve the posset in lemon peel/shells, you’ll want to wash the lemons thoroughly, then pat dry. Slice into halves lengthwise, then scoop out the flesh using a spoon. You’ll want to insert the tip of the spoon right between the skin and the flesh; carefully dig in and work your way all the way around until the flesh releases from the lemon.


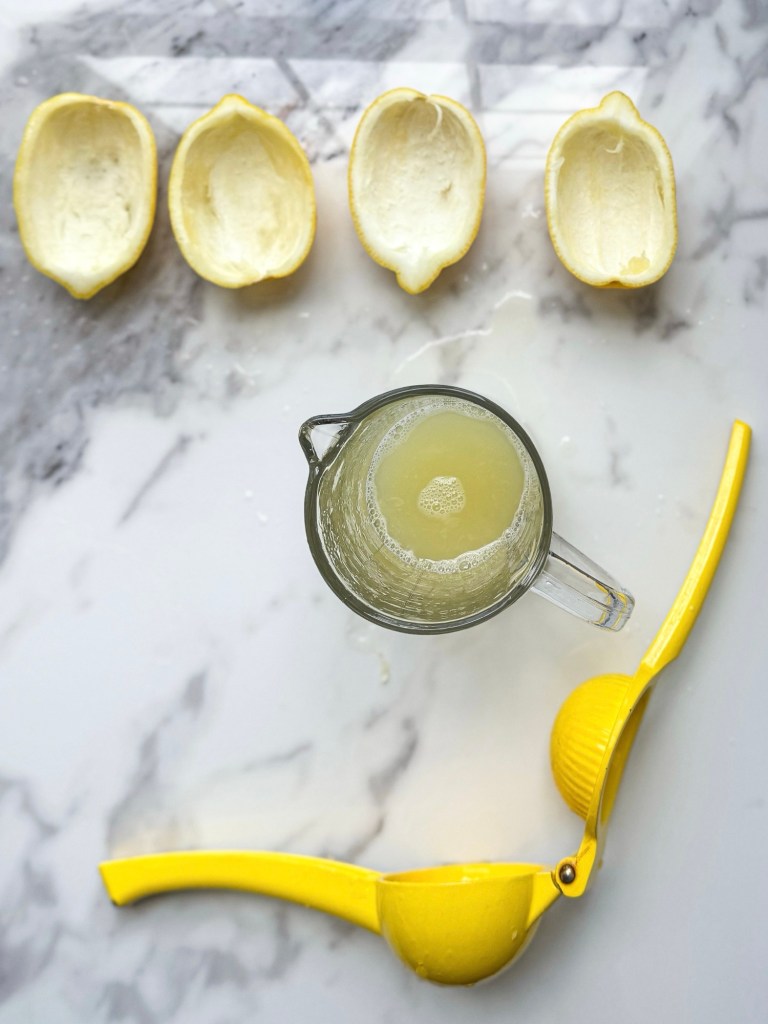
- Juice and zest: you’ll want the juice and zest from just one lemon. Put these in separate bowls.
- Cream time. In a sauce pan, combine the heavy cream, sugar, and lemon zest. Stir consistently on medium low heat until sugar has dissolved and cream thickens slightly. It will turn a faint yellow. I wasn’t sure what to look for the first time, so I ended up using my handy dandy candy thermometer to read the temperature of the cream mixture. You do NOT want it to boil, so it you use a candy thermometer, you’ll want to make sure the mixture does not go past 210 degrees Fahrenheit. To be on the safe side, I “complete” this step when the cream mixture has reached 200 degrees Fahrenheit.
- Add the juice: Whisk in the lemon juice and vanilla, then turn off the heat. Continue to stir as the cream thickens.
- OPTIONAL STEP: Strain the mixture through a sieve to remove the zest. This makes the posset extra creamy. I typically DON’T do this, as I like the extra zings of lemon!
- Cool, pour, set: Allow the cream mixture to cool for 10 minutes. Pour into hollowed lemon halves or ramekins, cute serving containers, etc. Chill until set, 2 hours minimum (better if overnight!).
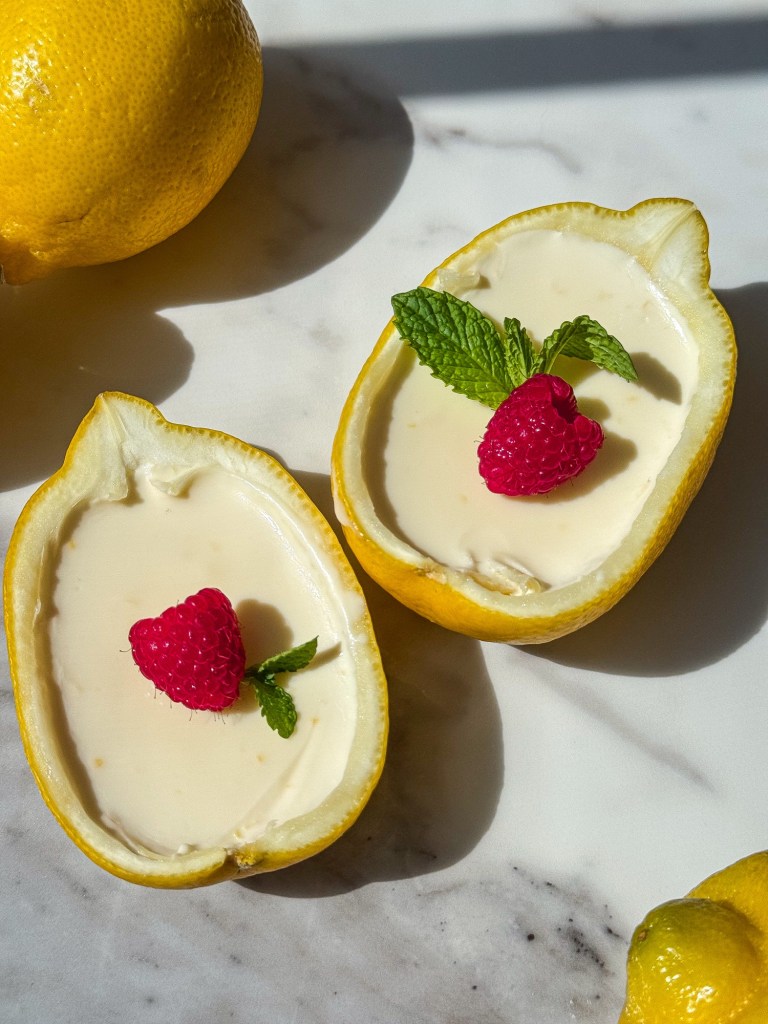
- Garnish, then serve!
Can you make Easy Lemon Posset ahead of time?
Yes! Posset can be made ahead of time. When stored properly (see directions below), it can be made up to 3 months in advance!
How to serve Lemon Posset in Lemon Shell
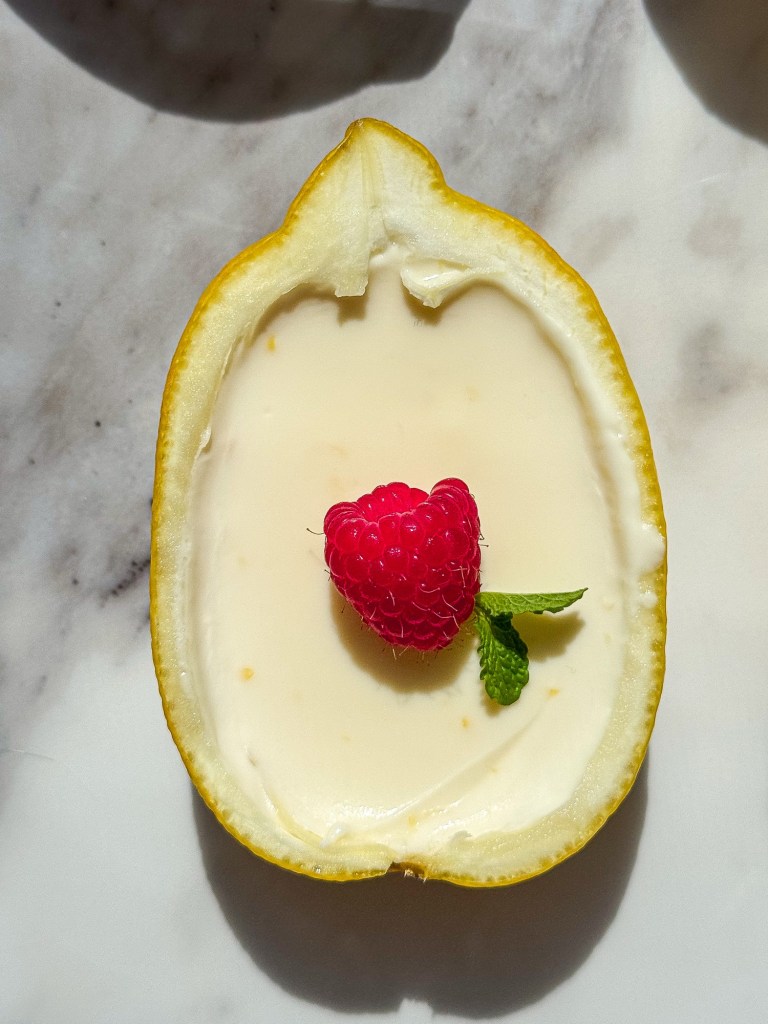
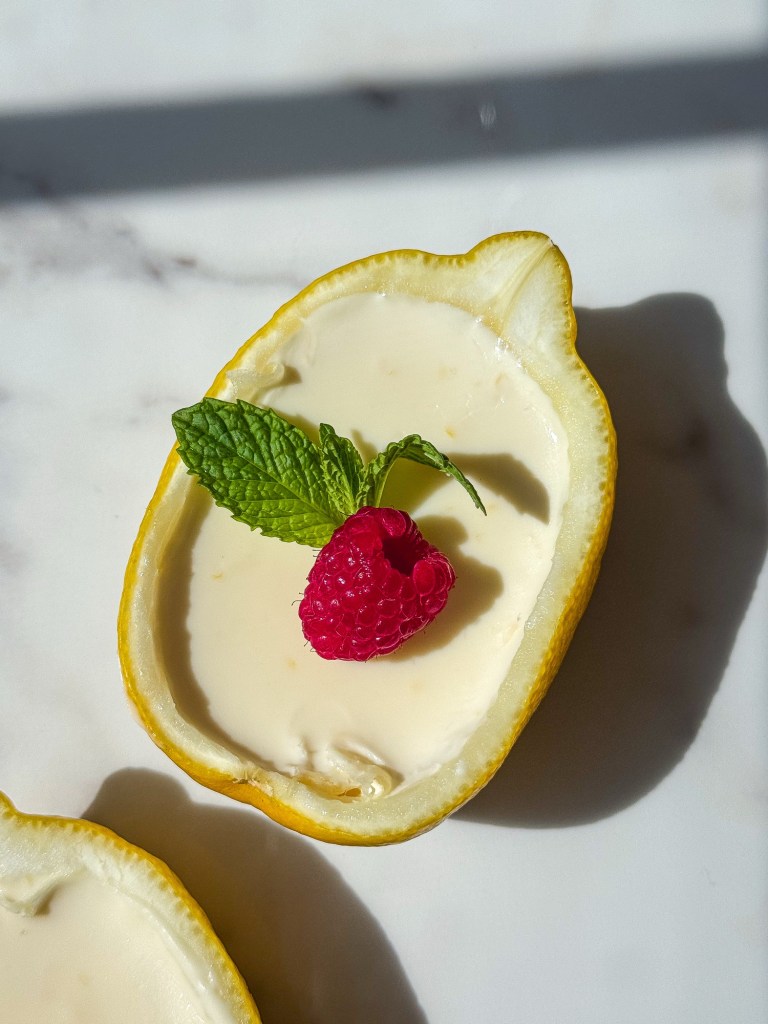
Posset is so elegant when served in the shells! Take it to the next level by garnishing with lemon zest, white chocolate curls, fresh berries, a biscuit, and/or mint leaves. You can also sprinkle some sugar on the set posset and torch it to create “Posset Brûlée.”
While super cute in the shells, it can easy be served in individual ramekins, cups, etc.


How to store this Recipe for Lemon Posset
Here’s a breakdown of how to store them:
- Refrigerator: Store posset in the fridge, covered for up to 5 days.
- Freezer: once set, possets can be stored in sealed food-safe container in the freezer for up to 3 months.
Can you freeze British Lemon Posset?
Yes! Freezing posset is great. Freeze it for a couple of hours, then let thaw ever so slightly before serving for a delightful gelato-like texture. And, as mentioned above, you can freeze possets for up to 3 months. This is GREAT if you want to make possets for an event, like a baby or bridal shower, wedding reception, etc.
So, the next time you’re craving a taste of jolly old England or want to curl up with Pride and Prejudice, give this lemon posset a go. You won’t be disappointed, I promise!
More Favorites from Sweetly Petite:
EASY LEMON POSSET
- Juice and zest from 1 lemon
- 6 lemons for serving (optional)
- 1 cup heavy cream/heavy whipping cream
- 1/4 cup granulated sugar
- 1 tsp vanilla extract
- If you want to serve the posset in lemon peel/shells, start here! If not, you can skip to step 2. 🙂 Wash the lemons thoroughly, then pat dry. Slice into halves lengthwise, and scoop out the flesh using a spoon.
- Juice and zest one lemon, into separate bowls.
- In a sauce pan, combine the heavy cream, sugar, and lemon zest. Stir consistently on medium low heat until sugar has dissolved and cream thickens slightly (approximately 200 degrees Fahrenheit; it will turn a faint yellow). Do not let the mixture boil.
- Whisk in the lemon juice and vanilla, then turn off the heat. Continue to stir as the cream thickens.
- Strain the mixture through a sieve to remove the zest. This makes the posset extra creamy (optional step).
- Allow the cream mixture to cool for 10 minutes. Pour into desired containers (ramekin, glass dish, lemon halves, etc.) Chill until set, 2 hours minimum (better if overnight!).
- Garnish, then serve!


Leave a reply to Brown Sugar Chocolate Zucchini Cake Recipe (EASY!) – Sweetly Petite Cancel reply