
This post may contain affiliate links. Please read our full disclosure policy.
Dried oranges are so many wonderful things; they smell amazing, are a beautiful way to decorate, can be used in potpourri…there are so many uses for dried orange slices!

Dried Oranges
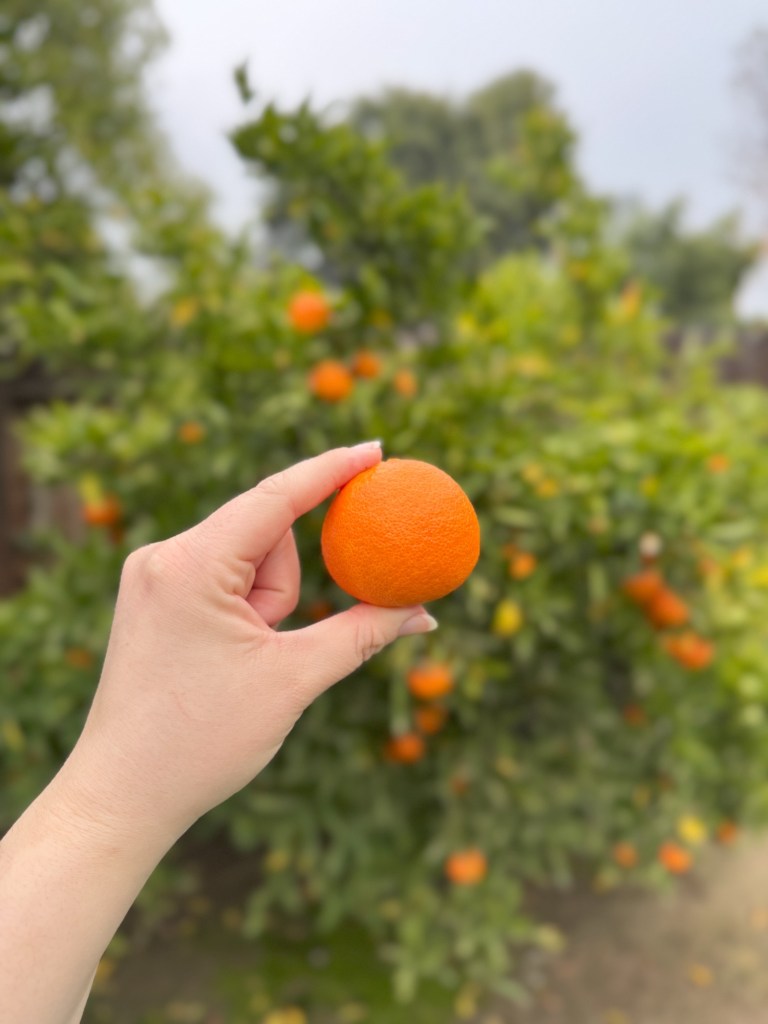
Have extra oranges on your tree? Want an inexpensive and natural way to decorate for the holidays? Or maybe you just want your house to smell AMAZING? DRIED ORANGES are the way to go!
I have been drying oranges for years now and have really perfected the process (if I do say so myself lol)! I’m so excited to share this tradition with you!
Why you’ll love Drying Orange Slices
- It’s a natural air freshener–no harsh or perfumy smells!
- Less expensive than buying candles (I do love me a good candle though!)
- The warm and bright aroma can help promote relaxation
What you’ll need to Dry Oranges
- Oranges: really you can use any kind! Navel, blood, even smaller citrus varieties like tangerines or mandarins!
- A sharp knife: or mandolin (please please please use the guard and closely follow all mandolin instructions if using!)
- Oven safe cooling rack
- Baking sheet
- Parchment paper
How to Dry Orange Slices
- Preheat your oven to approximately 175 degrees F, or as low in temperature as it can go. Line a baking sheet with parchment paper. Place an oven safe cooling rack on the prepared baking sheet.
- Thinly slice your oranges; I typically try to keep them to about 1/4 of an inch or so. Go even thinner if you can!
- Pat the orange slices “dry” on both sides with a paper towel to absorb some of the liquid.
- Place the orange slices on the cooling rack. They can be close together, but not touching.
- Put the pan in the oven and “bake” at a low oven temperature until oranges are dried, flipping every thirty minutes or so. Depending on how thinly you’ve sliced the oranges, it can take anywhere from 90 minutes to 4 hours to dry.
- Remove from the oven once dried and allow to cool before removing from the cooling rack.

How to use your Dried Orange Slices
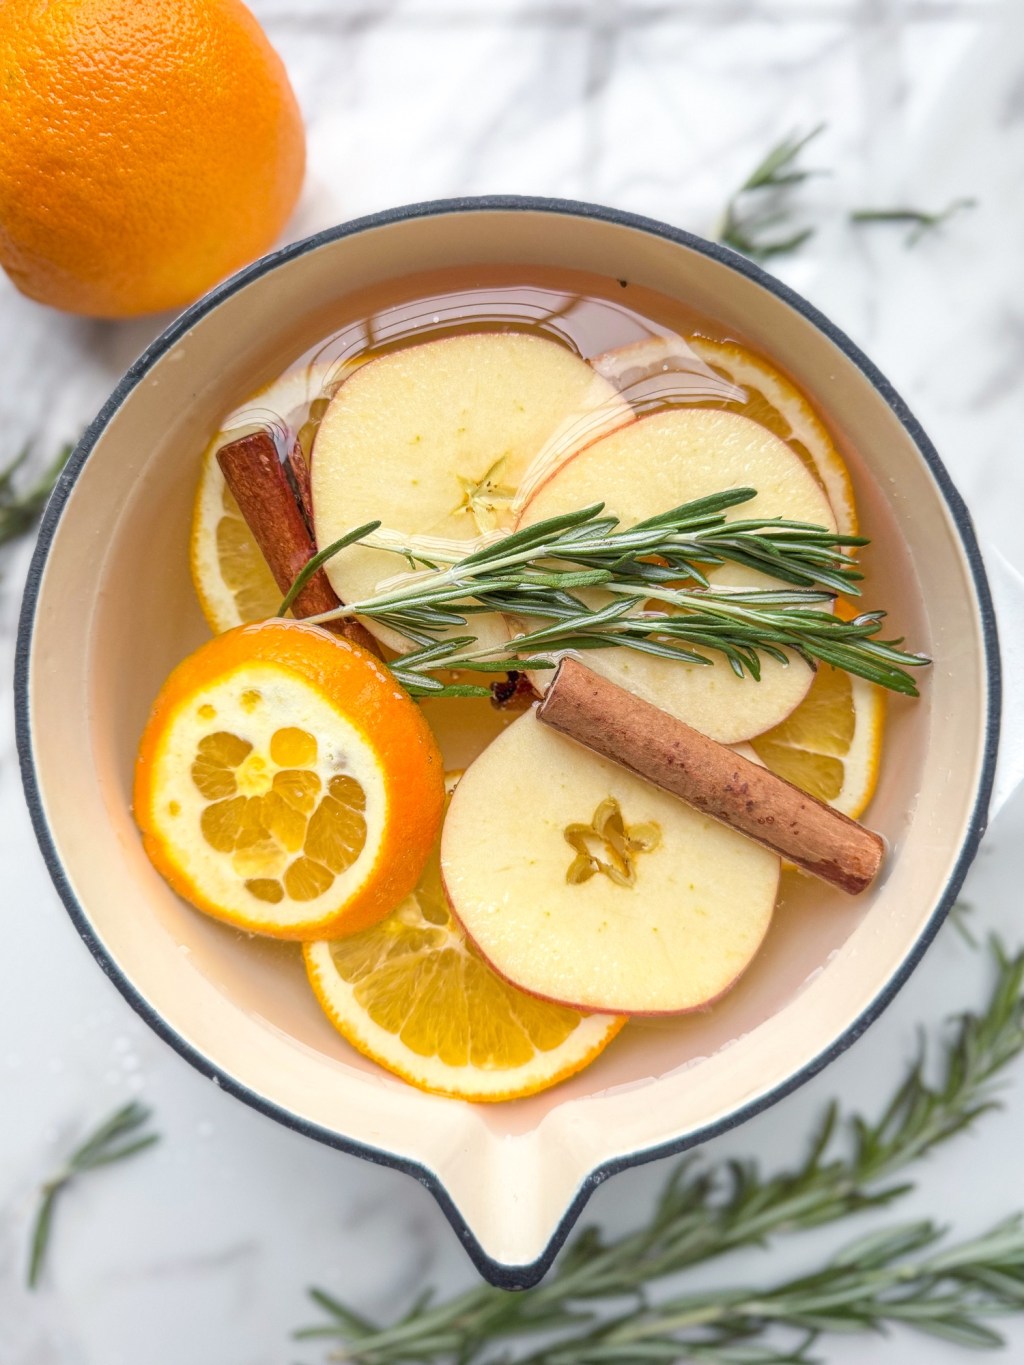
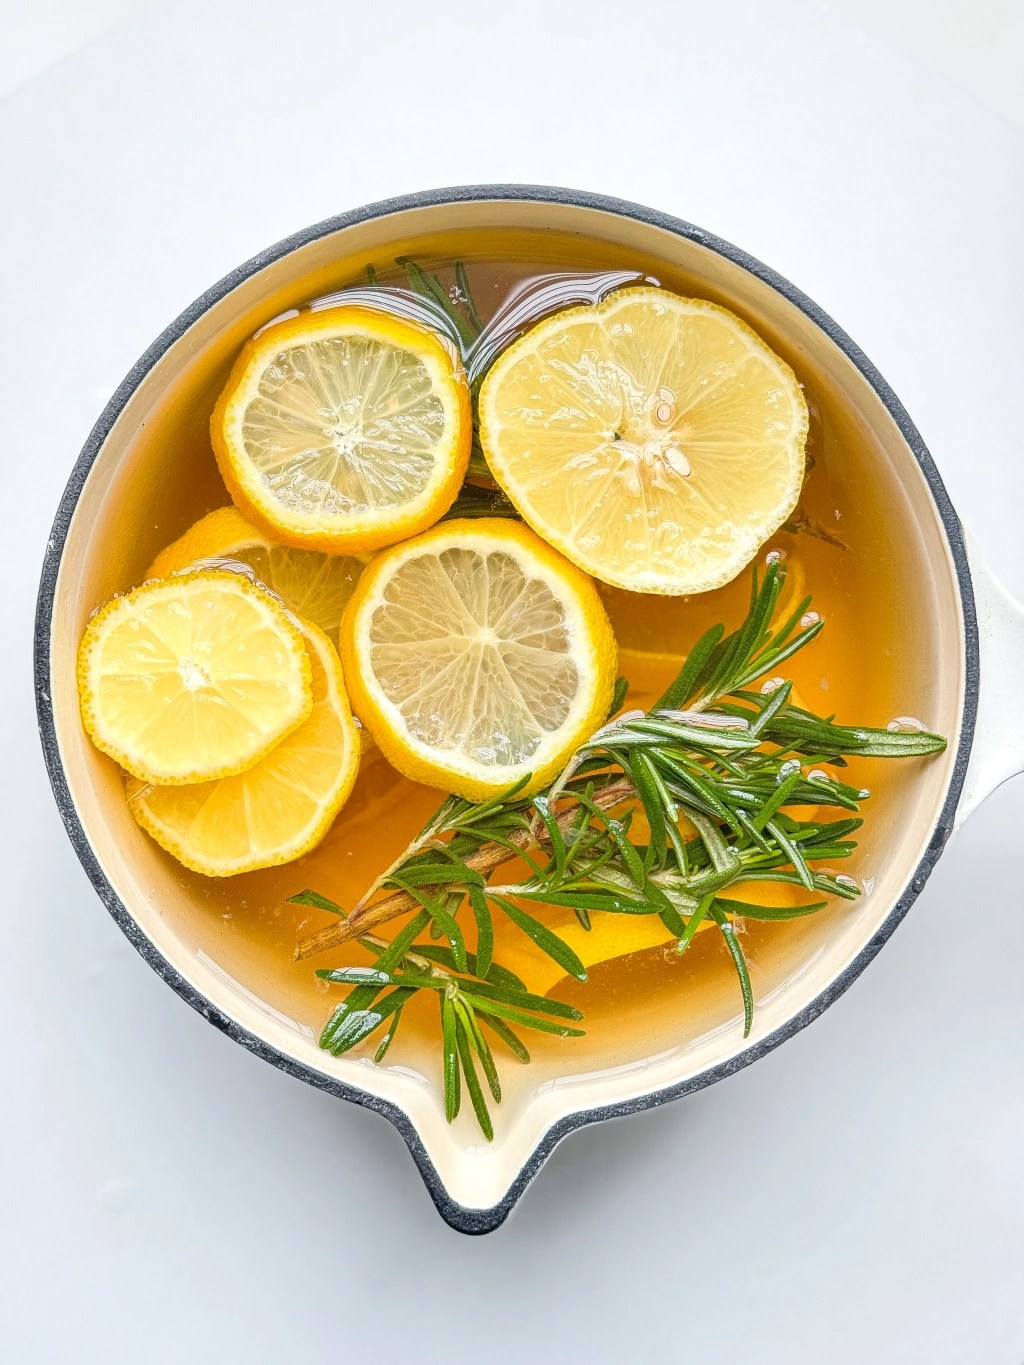
- Potpourri: add to a bowl of dried flowers and spices, or to a simmer pot! (They work so well in this Winter Simmer Pot!)
- Garlands: thread on jute twine and decorate your home/tree at the holidays! Find step by step instructions here!
- Ornaments: thread jute twine through the tip of the orange and “knot” to make a loop. Use to decorate your Christmas tree, put on door knobs, drawer pulls, etc.
- Beverage garnish: add a slice to the rim of a mocktail, place on the top of a cuppa’ hot herbal tea, or add to your holiday punch for a citrusy flair!
- Cake decorating: add to a frosted cake or cupcakes for a simple and elegant cake topper!
- Gift wrapping: use as a gift topper instead of a bow; I love wrapping my gifts in simple kraft paper, tying with white (or red/white) twine, and securing a dried orange slice and sprig of pine in the middle. It’s so simple, yet gorgeous and elegant!
- Charcuterie board: use to decorate and bring more color to your charcuterie board/spread.

Dried Orange Slice Recipe & Method
- Orange(s), any variety, sliced
- Oven safe cooling rack
- Baking sheet
- Parchment paper
- Preheat your oven to approximately 175 degrees F, or as low in temperature as it can go.
- Line a baking sheet with parchment paper. Place an oven safe cooling rack on the prepared baking sheet.
- Thinly slice your oranges; aim for approximately 1/4 inch thick ( or about 0.5 centimeters).
- Pat the orange slices “dry” on both sides with a paper towel to absorb some of the liquid.
- Place the orange slices on the cooling rack. They can be close together, but should not touch.
- Put the pan in the oven and “bake” at a low oven temperature until oranges are dried, flipping every thirty minutes or so. Depending on how thinly you’ve sliced the oranges, it can take anywhere from 90 minutes to 4 hours to dry.
- Remove from the oven once dried and allow to cool before removing from the cooling rack.


Leave a comment